DIY Blog II: Build your own pipe furniture

In Part II of our DIY blog, we want to introduce you to more DIY industrial furniture that you can recreate for your own home. Bring some loft design into your four walls and customize the pipe furniture according to your own ideas.

We'll show you how to build the following pipe furniture yourself:

  • Industrial clock stand
  • Toilet roll holder
  • Shelf for drinks crates
  • Kitchen bar made from pipes

Make watch stand yourself

DIY Project 1: Industrial clock stand from pipes

Watches are the perfect accessory for every style, whether simple and elegant or colourful and exciting. They are exactly your thing? Then don't hide your watch collection in a drawer or a box - this industrial watch stand DIY will make your watches the highlight of your dressing room or bedroom. The black metal of the water pipes makes the clocks the centre of attention and shows them off to their best advantage.

Uhrenständer selber machen aus Rohren
Benötigte Einzelteile für Rohr Möbel selber bauen

Pipe furniture build yourself

Required components for Industrial clock stand DIY:

- 1x Temperguss Fitting Teller
- 1x Malleable iron T-piece connector
- 1x 10cm water pipe
- 2x 25cm water pipe
- 1x Screw set (4 black screws)

Additionally:
- 2x Covers
- 1x Wooden socket
- Drill
- Pencil

DIY Industrial furniture

Step by step tutorial: Industrial clock stand DIY

Step 1: Screw the smallest 10 cm water pipe onto the malleable cast iron plate. Place the plate so that the free side of the thread of the rod points upwards.

Step 2: The T-piece connector can now be screwed into the free thread of the pipe.

Step 3: Screw the two 25 cm water pipes into the open threaded sides of the T-piece connector, one on the right and one on the left. The two open threads on the left and right of your industrial clock stand can then be covered with caps.

Pipe furniture build yourself

Make watch stand yourself

Step 4 (optional): To give your DIY industrial clock stand a better hold, you should attach a wooden base to the foot. Choose a piece of wood in a matching colour. The malleable cast iron plate already has pre-drilled holes - use these as a drilling template on your wooden base and mark the holes with a pencil. Then drill the holes and screw the clock stand in place. For an industrial finish, we recommend using black screws.


Step 5: You have completed your own industrial clock stand DIY! Now you can hang your clocks on the two side bars and admire them at any time.

Uhrenständer selber machen in wenigen Schritten

Klopapierhalter DIY  zum selber bauen

Schritt für Schritt Anleitung

DIY Project 2: Toilet paper holder tube

You can enjoy the rustic charm of industrial design in every room of your home - even in the bathroom. With the DIY toilet paper holder, your bathroom will have a unique rustic look that will stay in your memory.

Toilet paper holder tube

Parts needed for the toilet paper holder DIY:

- 1x Malleable iron fitting plate
- 1x 10cm water pipe
- 1x 90° angle connector
- 1x 6cm water pipe
- 1x Caps
- 1x Set of screws (4 black screws)
- Drill

Benötigtes Zubehör Klopapierhalter DIY für die Wand

Sub-heading

Step by step tutorial: toilet paper holder DIY

Step 1: Screw the 6cm water pipe into the thread of the malleable cast iron plate.

Step 2: The 90° angle connector is now screwed into the free thread of the water pipe.

Step 3: Next, screw the 15cm water pipe into the free thread of the 90° connector. To achieve a uniform finish for the toilet paper holder DIY, you can screw a cap onto the still open side of the threaded rod.

Step 4: To attach the DIY toilet paper holder to the wall, first hold the plate in the right place on the wall. Now mark the four holes on the plate with a pencil to use as a template for drilling. Then drill the marked holes with a cordless screwdriver and insert suitable bits into the holes. Now you just have to mount the plate on the wall with suitable screws. And your DIY toilet paper holder is ready!


DIY Industrial furniture

DIY Project 3: Crate holder

Beverage crates stacked on top of each other don't necessarily have a great aesthetic and can quickly make your kitchen or storage room look untidy. With this DIY beverage crate shelf, you can bring the rustic New York loft style into your kitchen and easily store three crates.

Beverage crates shelf DIY

Needed parts for building beverage crates shelf itself

- 4x Malleable iron fitting plate
- 4x 90° angle connector
- 16x T-clamp
- 4x 105cm water pipe
- 4x 25cm water pipe
- 6x 50cm water pipe
- 4x Protective pads

Using 6x 93cm water pipes instead of 6x 50cm pipes, you can build a double crate rack that can hold a total of 6 crates.

Beverage crates shelf DIY

Step by step instructions: build beverage crates shelf yourself

Step 1: Prepare the intermediate supports for the DIY drinks crate shelf by screwing the T-clamps to both ends of the 6x 50 cm water pipes (for 6 crates to the ends of the 6x 93 cm water pipes) and the 2x 25 cm water pipes using the grub screw. Always use the single opening of the T-clamp so that there is a free thread on the right and left.

Step 2: Prepare the 4 longest 105 cm water pipes by setting them up as a rectangle in the shape of a drinks crate. Now screw 90° angle connectors onto the two front 105 cm water pipes. Screw a 25 cm water pipe into the free thread of the 90° connector on the right and left. To connect this to the other water pipes, screw another 90° elbow connector onto its free threaded side. This can now be screwed into the free 105 cm water pipes on both the right and left.

Oberer Teil Getränkekisten Regal DIY

Step 3: Now the intermediate supports must be attached. Turn the previous frame upside down so that the 25 cm water pipes serve as feet. To avoid scratches, we recommend placing a blanket or towel underneath.

Step 4: Take one of the 50cm water pipes with the T-clamps attached to the end and thread the open sides of the T-clamps over the open thread onto the two front 105cm water pipes. Repeat this step with the two rear 105cm water pipes and thread the 50cm water pipe with the two T-clamps here as well.

Aufbauanleitung Getränkekisten Regal DIY

Beverage crates shelf build yourself tutorial

Fix crossbars for beverage crates

Step 5: The T-clamps have a threaded socket that tightens them. Attach the two 50cm water pipes that you have just threaded underneath, directly above the 90° angle connector. Make sure that the rear 50cm pipe is screwed about 5cm further down, so that the boxes are later slightly at an angle.

Step 6: In order to be able to place the next beverage crate, two more crossbars must now be threaded in. To do this, take another 50cm water pipe and thread it between the two front 105cm water pipes using the T-clamps and tighten the screws of the T-clamp. Repeat this step and thread another 50cm water pipe through the T-clamps into the two rear 105cm water pipes. Make sure to attach the crossbar high enough so that there is room for a beverage crate between the top and bottom crossbars. Tighten the T-clamps at this height on both 50cm threaded pipes so that, again, the rear rod is fastened about 5cm lower than the front rod.

Step 7: Now take one of the two 25cm water pipes and thread its T-clamps onto the right, front 105cm water pipe and onto the right, back 105cm water pipe and connect them together in this way. Now tighten the grub screw of the T-clamp. Repeat this step with the two left 105cm water pipes. Make sure that the two water pipes now attached are at the same height on the right and left. The crossbars are to provide additional support for the beverage crate shelf DIY.

DIY Industrial furniture

Letzen Schritte Getränkekisten Regal DIY

Step 8: Take the last two 50cm water pipes with T-clamps and thread them, just like the previous ones, onto the two front 105cm water pipes and the two back 105cm water pipes. Again, make sure to leave enough space between them and the previous crossbars so that another beverage crate can easily fit in the DIY beverage crate shelf. The back 50cm water pipe should again be 5cm lower than the one in front.

Step 9: The frame of the beverage crate shelf DIY is ready! Finally, screw the 4x malleable cast iron plates into the free threads of the 105cm water pipes. For an extra good grip, you can stick protective pads on the bottom of the plates. These not only protect your floor from scratches, but also prevent your beverage crate shelf from sliding back and forth easily.

Step 10: Fill it up! Store your annoying beverage crates in your new DIY shelf and bring some industrial design into your kitchen. This way, the crates will become an accessory to your home and will no longer stand uselessly in the way.

Letzen Schritte Getränkekisten Regal DIY

Build furniture yourself

DIY Project 4: Kitchen bar black

A kitchen bar helps to keep all the utensils in your kitchen neatly organized without using up valuable space on the kitchen counter or in the drawers. Instead, you can, for example, hang your whisk and spatula on the kitchen rod and have them handy when cooking. The black look of the kitchen bar provides a high quality finish.

Fertige Küchenstange schwarz
Benötigte Bauteile Küchenstange schwarz

DIY Industrial furniture

Required components for the kitchen bar black:

- 2x 90° angle connector
- 1x 40cm water pipe
- 2x Malleable iron fitting plate
- 2x 6cm water pipe
- 2x Screw set (4 black screws)
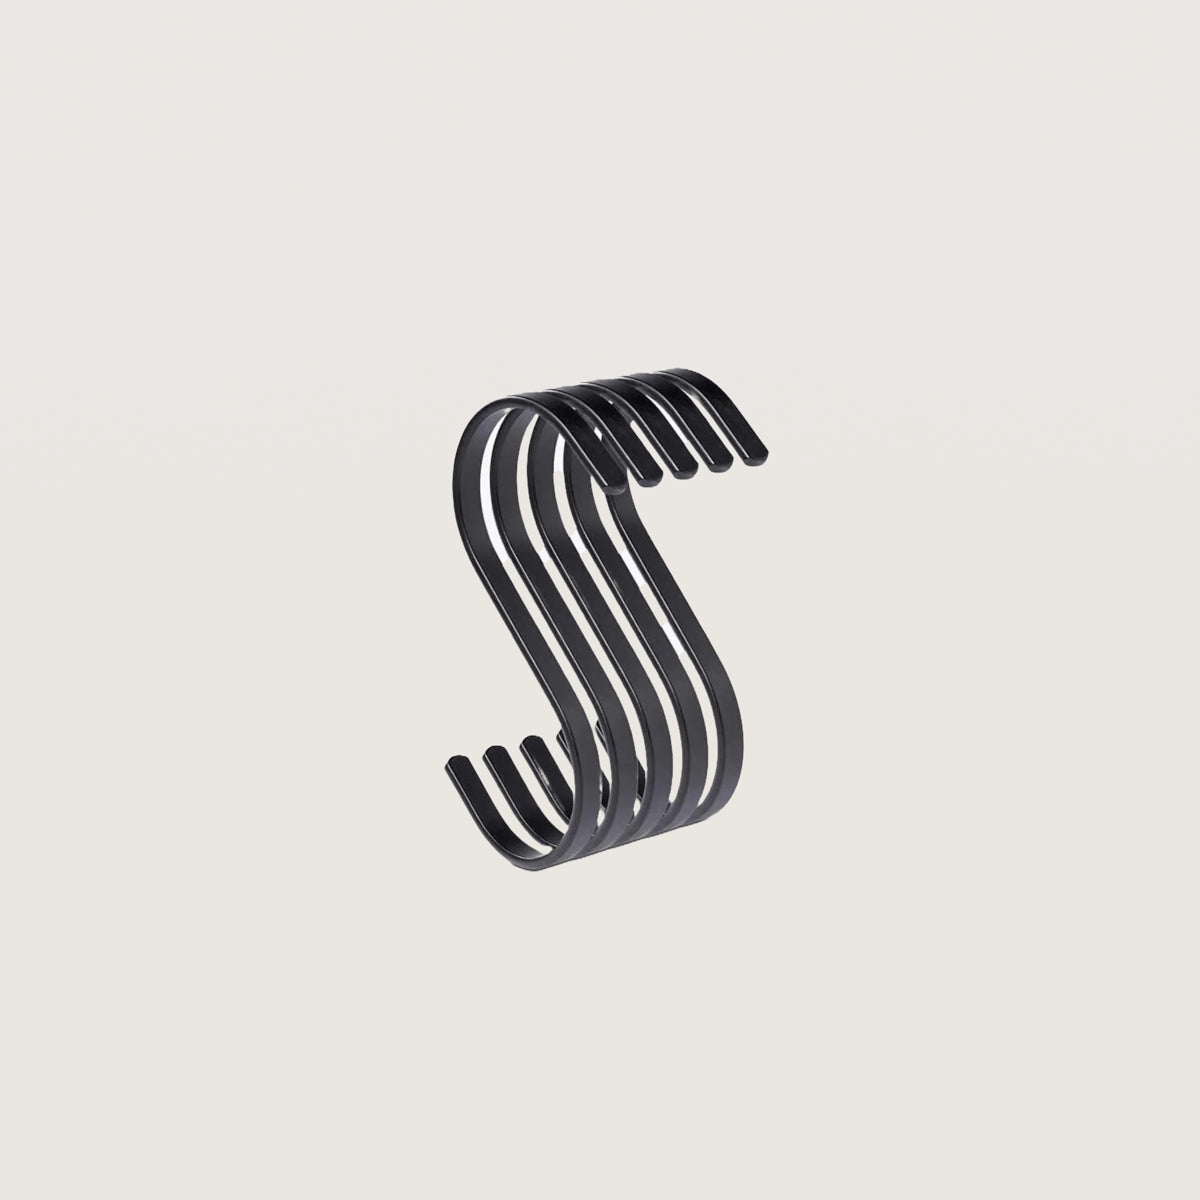
- 1x Set S-hooks

The width of the kitchen rod can be freely chosen in our DIY, just exchange the 40cm tube in our DIY store with a water pipe in a different length . Remember to also adjust the amount of S-hooks to the length of the crossbar.

Build furniture yourself

Step by step instructions - kitchen bar black

Step 1: First, prepare the two malleable cast iron fitting plates and screw a 6cm water pipe into the thread of each plate. Now take a plate with a pipe and screw one of the two 90° angle connectors onto the free threaded side of the 6cm water pipe.


Step 2: To build the kitchen rod, the longer 40cm water pipe must now be screwed into the free threaded side of the 90° angle connector. As already mentioned, you can choose the length of your kitchen rod freely by selecting a longer or shorter water pipe in this step.

DIY Anleitung Küchenstange schwarz

Step 3: The second 90° angle connector is now to be screwed to the free side of the 40 cm powder-coated tube. On its free side, the tube assembled in step 1 is now screwed with the plate. And there you go, the kitchen bar is complete!

Step 4: Now you just need to mount the kitchen rod to the wall. To do this, lift the kitchen rod to the desired location in your kitchen and draw the holes of the plate on your wall with a pencil to mark where you need to drill the holes. Drill the holes with a drill and attach the kitchen rod to the wall using 4 screws per plate. Now hang the S-hooks on the kitchen rod - and you can hang up your cooking accessories!